Friday, November 13, 2015

Gluten Free Shrimp Salad

Picture this.... it was a hot day in the summer, and I was looking for something tasty to make for dinner!  Nothing hot that involved heating up the cottage and something I had kicking around in the fridge and freezer. I found this great recipe on Food Network by Ina Garten, and then I added my own personal touch! 

INGREDIENTS

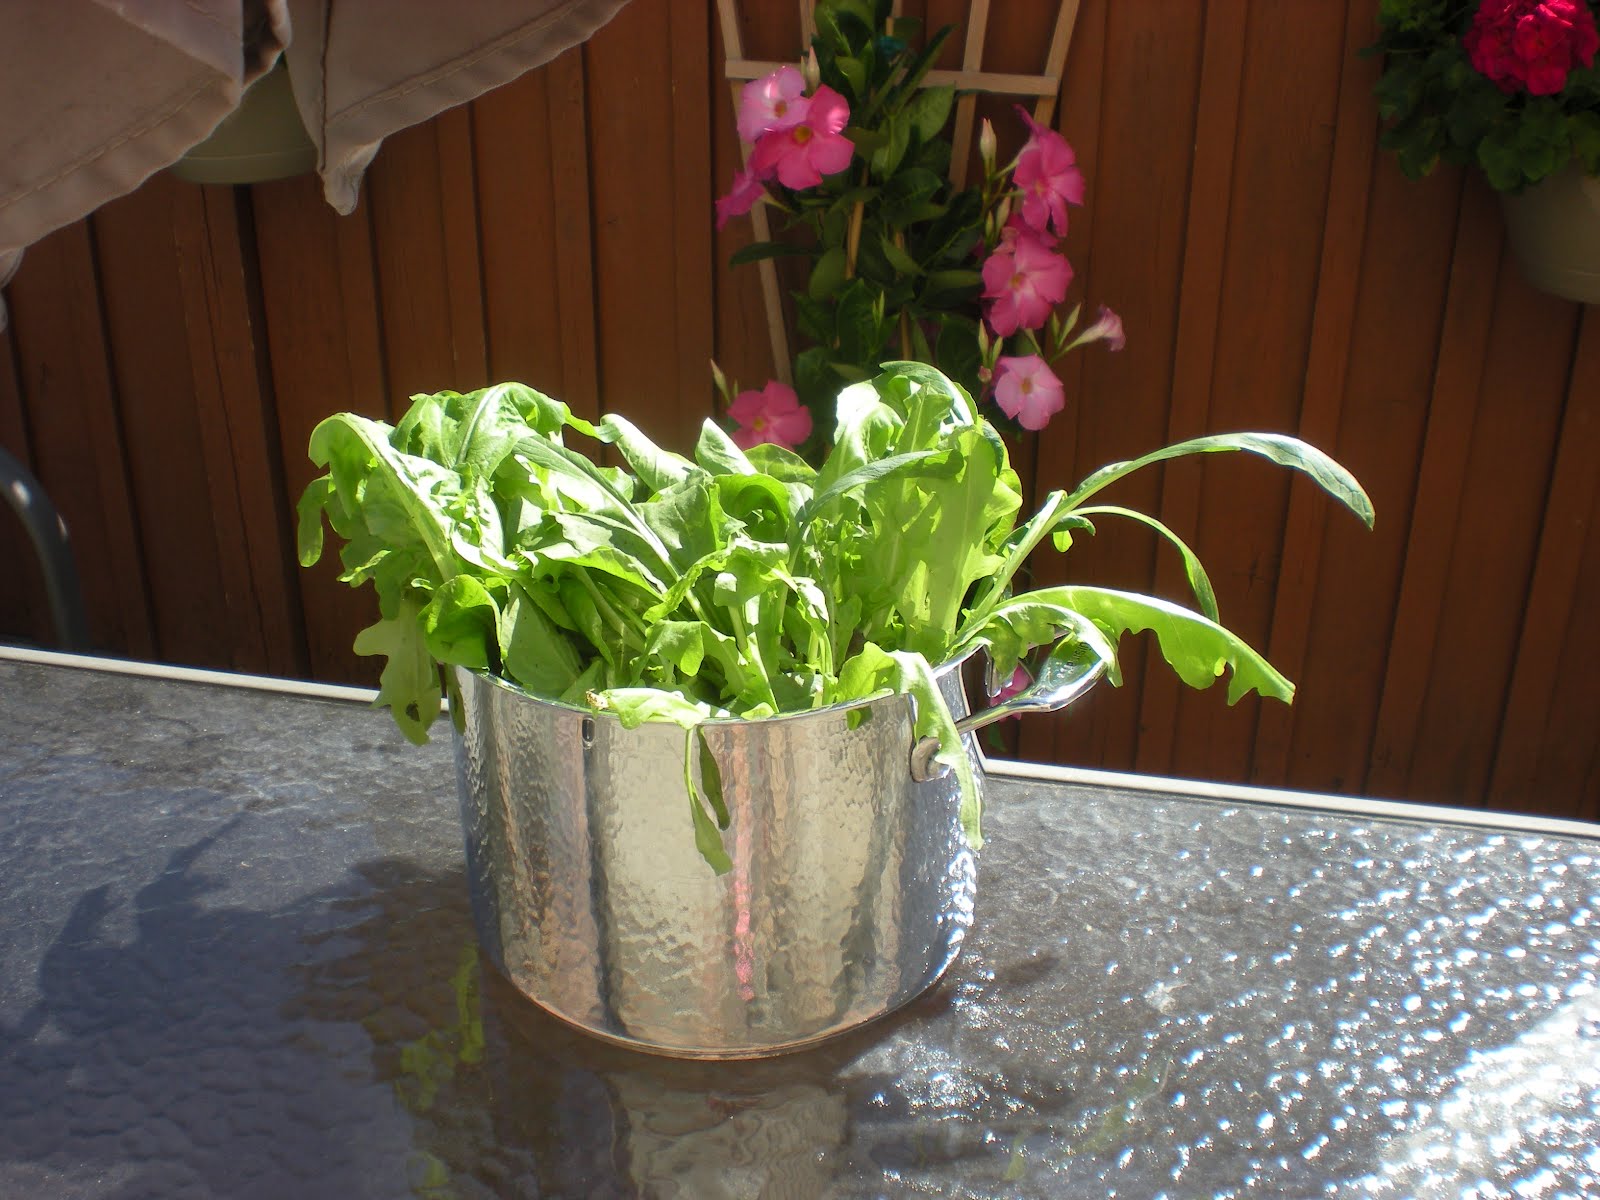
A mixture of lettuce (I use green leaf lettuce and red leaf lettuce but you can use whatever lettuce you love!)
1 bag frozen, cooked, deveined shrimp (about 30 shrimp)
1 bag of frozen edamame, shelled
1 small red onion sliced thin, optional
6 celery stalks, diced
1 cup mayonnaise ( I use Spectrum brand)
1 teaspoon Dijon mustard
2 Tablespoons white wine vinegar
Salt and fresh ground pepper to taste
1 Tablespoon fresh dill, or more if your a fan of dill!

DIRECTIONS

Wash and break up lettuce into bite size pieces.
Defrost shrimp overnight in the fridge, or if you are like me, and decide to make this at the last minute, defrost by running COLD water over the frozen shrimp. Take the tails off and chop shrimp up into bite size pieces! Add to lettuce.
Cook edamame according to the package, in my case, 3 minutes in the microwave, take out of the shell and add to the salad.
Slice red onion thin, dice the celery and add both to the dish.
In a 2 cup measuring cup or small bowl, I whisked together the mayonnaise, mustard, vinegar, and salt and pepper to taste! (I didn't use salt and I just added a touch of pepper!). This is your salad dressing. Pour over the salad and mix.
Chop up the dill and sprinkle it on top!
ENJOY!


Thursday, November 12, 2015

Gluten Free Pesto Pasta

So.... In a perfect world, I would have made this recipe 2 weeks ago when I had my last batch of fresh carrots from the market!!! I say that because my farmer friends from At Home Organic Farms tell me to use carrot greens in my pesto. It is the best way to make it! Unfortunately my greens went bad before I had a chance to make the pesto so I just went old school. I am going to give you two versions of this recipe because carrot greens are not always available and pesto is something I like to have around!


INGREDIENTS

With Carrot Greens:
1 bunch of basil leaves (approximately 50 leaves)
1/2 cup carrot greens (not the actual carrots, just the leaves)
2 cloves garlic
1/4 cup pine nuts
1/4 cup parmesan cheese
1/4 cup olive oil
Salt and pepper to taste

Original Pesto Sauce:
1 bunch of basil leaves (approximately 50 leaves)
1/2 cup parsley
2 cloves garlic
1/4 cup pine nuts, almonds, walnuts, or no nuts if you want nut free
1/4 cup parmesan cheese (if not adding nuts you can increase the cheese to 1/2 cup. Or increase to 1/2 cup if you like it cheesier!!!)
1/4 cup olive oil
Salt and pepper to taste

Gluten Free noodles of your choice! Here I used Rizopia Vegetable Rotini because they were on sale at Loblaws 2 for $4 and they are very pretty and taste delicious! My other favourite gluten free pastas include Trader Joe's brand gluten free pastas and Tinkyada.

DIRECTIONS

Cook pasta according to the package.
In a food processor, (I love my Cuisinart!) while it is running, I drop the garlic through the tube. Once it is all ground up, I stop the machine and add the basil, carrot tops or parsley, parmesan cheese, and nuts and turn the the machine on again. Then, while the machine is still running, I pour the olive oil through the tube, until everything is blended! 
Pour the pesto sauce over the warm pasta, stir, and serve!
YUM!!!


Wednesday, November 11, 2015

Gluten Free Szechwan Eggplant Stir-Fry

I love how recipes get passed along and modified as they go.  I will try to do my best to give credit to those that have influenced the recipe as it has made its way to me!!!!
This recipe was sent to me from a friend at Fox Hole Farms.  Check out what they are doing athttp://foxholefarm.tumblr.com.
The recipe original recipe can be found on the food network.com, courtesy of Tyler Florence. This is a great example of a recipe that didn't start out gluten free, but with the proper ingredients, can be made gluten free!
This is my version of the recipe!
Enjoy!

INGREDIENTS

5 Asian eggplants or 2 large eggplants
3 Tablespoons grape seed oil (I use grape seed oil because it is a healthier option and gluten free!)
1 Tablespoon sesame oil
Kosher salt and freshly ground pepper
2 green onions, white and green parts, sliced on a diagonal
1 inch piece fresh ginger, peeled and grated
3 cloves garlic, minced
1/2 cup chicken broth (I use Celifbr brand but homemade would be even better!)
3 Tablespoons gluten free soy sauce (I use San-J brand Tamari) 
1 Tablespoon rice vinegar (rice vinegar can be seasoned, so be careful that it is gluten free! Mine is not seasoned and states gluten free on the label)
1 Tablespoon brown sugar
1 Tablespoon cornstarch

DIRECTIONS

Cut the eggplant in 1/2 lengthwise and the slice crosswise into wedges less than 1 inch if using the Asian eggplant. If using the regular looking eggplant, cut into 1 inch pieces (bite size!)
Heat a wok medium high temperature and add both the grape seed and sesame oils! Add the eggplant and stir fry until soft, about 5 minutes.  You can season the eggplant with salt and pepper at this stage but I don't because this dish has such great flavour it doesn't need it!  If the eggplant is too much for the size of your pan, work in batches, removing the eggplant to a side platter and cooking the remaining eggplant in the same manner, adding more oil, if needed.  While the eggplant is cooking, make up a sauce by mixing the soy sauce, vinegar, sugar and cornstarch until everything is dissolved. Set aside to be used at the end of the recipe.
Once all the eggplant is cooked and out of the wok, add the green onions, ginger, and garlic.  Stir constantly for 1 minute until it smells great!
Add the broth.
Now, stir that sauce you made a while ago.  Once the soy sauce mixture is stirred, add it to the pan and cook for another minute until the sauce has thickened.
Put the eggplant back in the wok, toss until the eggplant is well mixed with the sauce.
Then, it is ready to serve!

Tuesday, November 10, 2015

Gluten Free Vegetable Beef Soup

Today's recipe is a combination of my mom's vegetable beef soup recipe (thanks Bubby Shell!) and one I found online at a terrific website that I use all the time! The website is glutenfreechecklist.com and the original recipe was posted by regnisaw@yahoo.com.
I hope you enjoy my version of this recipe!

INGREDIENTS

2 Tablespoon olive oil
2 lbs stewing beef cut into bite size pieces
4 carrots, peeled and diced
1 large onion, chopped
6 garlic gloves, chopped
3 bay leaves
2 Tablespoons fresh thyme (optional)
6 cups gluten free beef broth (I use Celifibr brand but any gluten free brand will do, or homemade, which is even better!)
1 (28 ounce) can diced tomatoes, undrained
3 cups cabbage shredded, grated or coarsely chopped, however you like your cabbage!
2 large potatoes any type, peeled and diced (Any potato would do, even sweet potato would be delicious!)
1 cup frozen corn kernels
1 cup frozen peas
1/2 cup uncooked quinoa (I am a personal fan of Bob's Red Mill Tricolor Quinoa, but any quinoa will work!)
1/2 cup uncooked pasta (I used the Anelli noodles by Gogo Quinoa but any small gluten free noodles will be perfect!)

DIRECTIONS

Heat 2 Tablespoons oil in a large pot over medium heat.
Sprinkle beef with salt and pepper and then add beef to the pot.  Cook for 5 minutes or until the beef is no longer pink.
Add the carrots, onion, garlic, bay leaves, and thyme.  Sauté for 5 more minutes until things start to soften and then add the beef broth, tomatoes, cabbage and potatoes.
Partially cover pot and simmer for 40 minutes.
Add the quinoa, pasta, and 2 cups water (or broth) and cook for 10 more minutes.
Stir in kernels and peas and simmer for 5-15 minutes more until corn and peas are tender.
At the end, it can be eaten thick (more like a stew) or you can eat it thin (like a soup) by adding more broth or water!
Enjoy!


Monday, November 9, 2015

Gluten Free Tuna Casserole


I started with a recipe I saw online at simplygluten-free.com by Carol Kicinski and then I added my own personal touch! I hope you like it!

INGREDIENTS
Kosher salt 
1 454g bag of Tinkyada elbow noodles (I love Trader Joe's gluten free pasta as well!)
2 Tablespoons olive oil
1 medium onion, diced
1 cup mushrooms, diced
black pepper to taste
3 Tablespoons gluten free flour blend (I'm a personal fan of Trader Joe's gluten free flour!)
2 1/2 cups chicken broth, either real or I use Celifibr brand
1 1/2 cups milk
2 (6 ounce) cans tuna in water, drained and flaked
1 cup frozen peas, corn, or carrots, whatever you prefer!
1 cup gluten free bread crumbs. I use whatever I have leftover (crackers, bread, cereal) and I put them in my cuisinart and make my own bread crumbs!

DIRECTIONS

  • Preheat oven to 425F, grease a 9x13 inch baking dish, and make up the chicken broth.
  • Cook the pasta according to the package. Don't overcook the noodles because they are going in the oven as well!
  • While the noodles are cooking, heat the olive oil in a medium saucepan.  Add the onions and mushrooms and cook until the onions are soft and the mushrooms have released their moisture, approximately 7 minutes. Add the salt and pepper and stir in the flour, stirring constantly for 1 minute.  Add the chicken broth and milk and bring to a low boil. Once it is boiling, reduce  heat and cook until sauce thickens, 8 minutes.
  • Now add it all together! Cooked noodles, mushroom sauce, tuna, and whatever veggies you choose!
  • Pour the mixture into the baking dish and top with the bread crumbs.
  • Bake uncovered for 20 minutes or until the sauce is bubbly!
  • Let sit for 5 minutes before serving!
ENJOY!

Thursday, October 11, 2012

Gluten Free Bat Mitzvah; Chef David

I was lucky enough to have Chef David of Akasaka Japanese Restaurant working with me for the Bat Mitzvah. There was an Asian Style Hut set up in the foyer of LeParc where people could help themselves to sushi that was being prepared fresh by Chef David. The sushi was prepared gluten free and served with gluten free soy sauce (tamari). When it was time for the guests to move into the dining room, Chef David moved inside to prepare the Asian Station, one of the four stations for dinner. The Asian Station included pad thai, fried rice, and chicken yakatori. Not only was the food prepared gluten free, but it had to be prepared without nuts and shrimp as well. Chef David did an outstanding job of omitting the things that we couldn’t have in the food, while maintaining the fantastic taste of all the dishes. I love working with Chef David because he always figures out a way to do things necessary for making the food safe and delicious. He runs his restaurant like that as well, which is why it is one of my favourite restaurants in the Greater Toronto Area. They are so accommodating at Akasaka and willing to make changes that are necessary for people to feel safe while dining out. I helped Chef David make his restaurant gluten free friendly over five years ago and they are so good with it. The staff are all well trained on how to manage a gluten free order, they have a gluten free menu that is plentiful and includes many great items to choose from, and while dining at the Teppanyaki tables, you are served a miso soup that is gluten free, a salad with gluten free dressing, and the chefs prepare the meal with gluten free soy sauce (tamari) and teriyaki sauce. We always get a delicious meal when we go to Akasaka and I leave feeling like the gluten free request was taken seriously and that they truly know what they are doing with respect to keeping the food safe. As well, I can’t do an entire blog on Chef David and Akasaka Japanese Restaurant, without mentioning the wonderful gluten free cooking classes we have done together and continue to do together. We have 2 different classes; a sushi class and a pad thai and dumpling class. We do the classes around a Teppanyaki table at the restaurant, the class size is always small so everyone gets to have ample time with both Chef David and myself, and the food we make is delicious. You get to keep the recipes and work with Chef David and it is a great way to spend an afternoon. I am so excited to be offering the classes again this year. We will be announcing the details at the Gluten Free Garage and giving people at the pop up market first dibs at a chance to come to one of the classes. We will have a special price for those who sign up at the GFG. Chef David is an amazing chef who really cares about the gluten free community. I can’t say enough great things about a person willing to take on all the challenges that come with not just a gluten free diet but food allergies in general!

Tuesday, May 29, 2012

Garden Salad With Maple Balsamic Dressing

For the last two weeks I have been enjoying a salad every day from my "At Home Organic Farm" that is growing in my backyard! I have had romaine lettuce, mixed greens, and delicious radishes while everything else continues to grow nicely. My snow peas, purple and green beans, beets, carrots, and garlic are not ready for harvest, and my onions and leeks were just planted a few days ago. I thought I would share a recipe for Maple Balsamic Dressing that I found in my Norene Gilletz, Norene's Healthy Kitchen Cookbook. I have had to alter it slightly to make it gluten free. I love this recipe and it goes perfectly with the greens from my garden. 1/4 cup balsamic vinegar, 1/4 cup orange juice, 1/4 cup maple syrup, 1 Tbsp extra virgin olive oil, 1 Tsp Tamari Sauce, 1 clove garlic minced, 1 Tsp fresh ginger minced. Combine all the ingredients and shake well before using. Keeps for 1 week in the refrigerator. To jazz up the salad a little bit, I added sliced pear and crumbled goat cheese! ENJOY